How to Track Expenses in Multiple Currencies (Step-by-Step)
You paid rent in euros, bought groceries with reais, and booked a flight in dollars. At the end of the month, how much did you actually spend? If you can't answer that immediately, you're not tracking your expenses — you're guessing.
This guide walks you through a simple, practical system to track expenses across multiple currencies — no spreadsheets, no manual conversions, no data silos.
Why Tracking Expenses Is the Foundation of Every Budget
You can't manage what you don't measure. Expense tracking is what turns vague financial anxiety into a problem you can actually solve.
When you don't track, money doesn't disappear — it just becomes invisible. You reach the end of the month with less than expected and no clear explanation why. The €180 month of food delivery that crept up gradually, the three overlapping subscriptions charging on different days, the transportation costs that quietly doubled — none of it surfaces until you're already feeling the damage.
Knowing how to track daily expenses consistently is what changes that. The numbers stop being scary once you can see them clearly.
The 4 Methods to Track Expenses (Pros and Cons)
✏️ Pen and paper
Works for people making a few transactions a day in a single currency — and nothing more. No totals, no filters, no history.
📊 Spreadsheet
Flexible but requires constant manual maintenance. Currency conversion has to be done by hand, using whatever rate you find today — which won't be the rate that applied when the purchase happened.
🏦 Bank statement
Retroactive by definition. You see what happened, never what's coming. And if you have accounts in different countries, there's no single view.
📱 Specialized app
⭐ RecommendedSolves all of the above: record at the moment of purchase, categorize automatically, convert at the correct date rate, and show a consolidated dashboard across every account. For anyone managing spending in more than one currency, this is the only approach that actually scales.
Download free on Android — free plan includes unlimited transaction tracking in 1 currency. Get it on Google Play →
Why Multiple Currencies Make This Harder Than It Looks
If you spend in one currency, almost any method works with enough discipline. Once your financial life spans two or more currencies, the problem changes — and most tools aren't built for it.
Exchange rate drift
The exchange rate problem: rates change every day. If you manually convert your €500 rent into reais using today's rate, but the charge hit your account 15 days ago, your historical record is already wrong. Compounded over 12 months, the distortion makes your spending data unreliable.
Single-currency app lock-in
The single-currency app problem: apps like YNAB and Mint assume one currency per budget. For international users, that means either converting everything manually (slow, error-prone) or accepting approximate records. Most people end up using a different app per currency — which creates silos and eliminates any consolidated view.
What a proper system needs
- ✓Record in the original currency — no pre-conversion
- ✓Convert automatically at the transaction-date rate
- ✓Consolidate in your chosen base currency, updated automatically
How to Track Expenses in Multiple Currencies — Step by Step
Step 1 — Choose your base currency
Your base currency is the one you think in — the currency of your largest recurring expense (usually rent). Everything else gets tracked in its native currency and converted to your base for the overall view.
Step 2 — Set up universal expense categories
Categories should reflect what you bought, not where or in which currency. Housing, Food & Groceries, Transportation, Health, Entertainment, Subscriptions, Travel. Knowing how to categorize expenses consistently from the start prevents hours of cleanup later.
Step 3 — Record every expense in the currency you paid
This is the most important rule: never convert before you record. Paid €45 at the supermarket? Log €45. Paid R$180 for a cab? Log R$180. The app handles the conversion — your job is only to record.
The currency is determined automatically by the account you select — pick your Wise account and the transaction is logged in EUR; pick your Itaú account and it's logged in BRL. You choose the right account, the app handles the rest. Recording at the moment of purchase also ensures the exchange rate applied is the one from that day, not today's.
Step 4 — Review consolidated totals weekly
Daily reviews create anxiety without insight. Weekly reviews — same time each week — create actionable patterns. Check total per category vs. budget, the largest expense of the week, and account balances vs. expected. Complement with a monthly expense tracker pass for category trends and month-over-month comparison.
Step 5 — Adjust your budget based on actual data
A budget is a hypothesis. After three months of consistent tracking, you have real data to test it. Chronically underestimated categories, seasonal spikes, the currency that weighs more than you thought — all of it becomes visible. Review monthly for the first quarter, quarterly after that.
How My Smart Finance Handles This
My Smart Finance implements this system exactly — without manual conversions or app-switching.
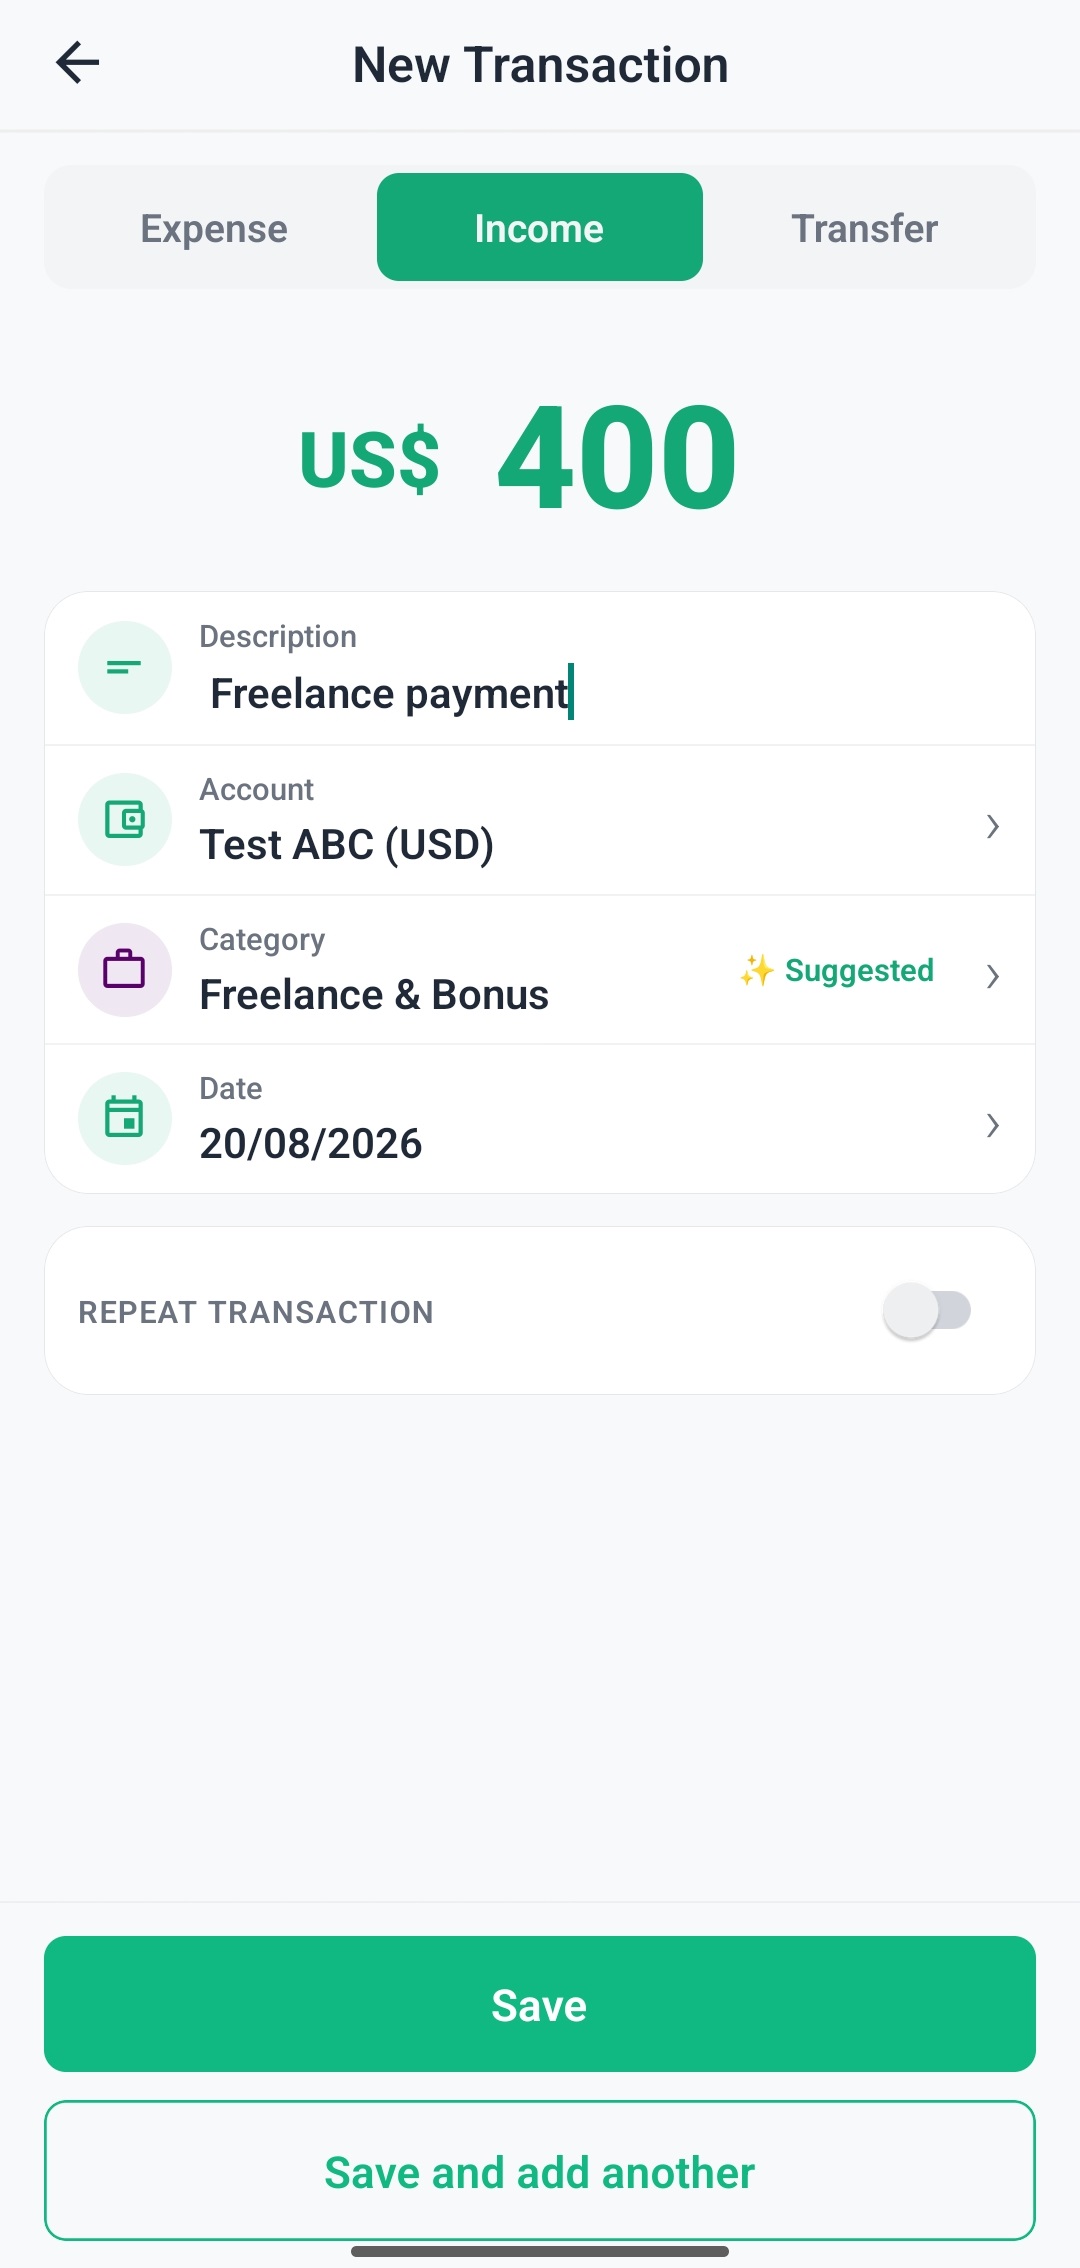
Log in 3 taps: open the app → tap "+" → type the amount → select the account → save. The currency is set automatically based on the account — the app already knows that your Wise account is in EUR and your Itaú account is in BRL. The exchange rate for the transaction date is fetched in the background. You never touch a currency selector.
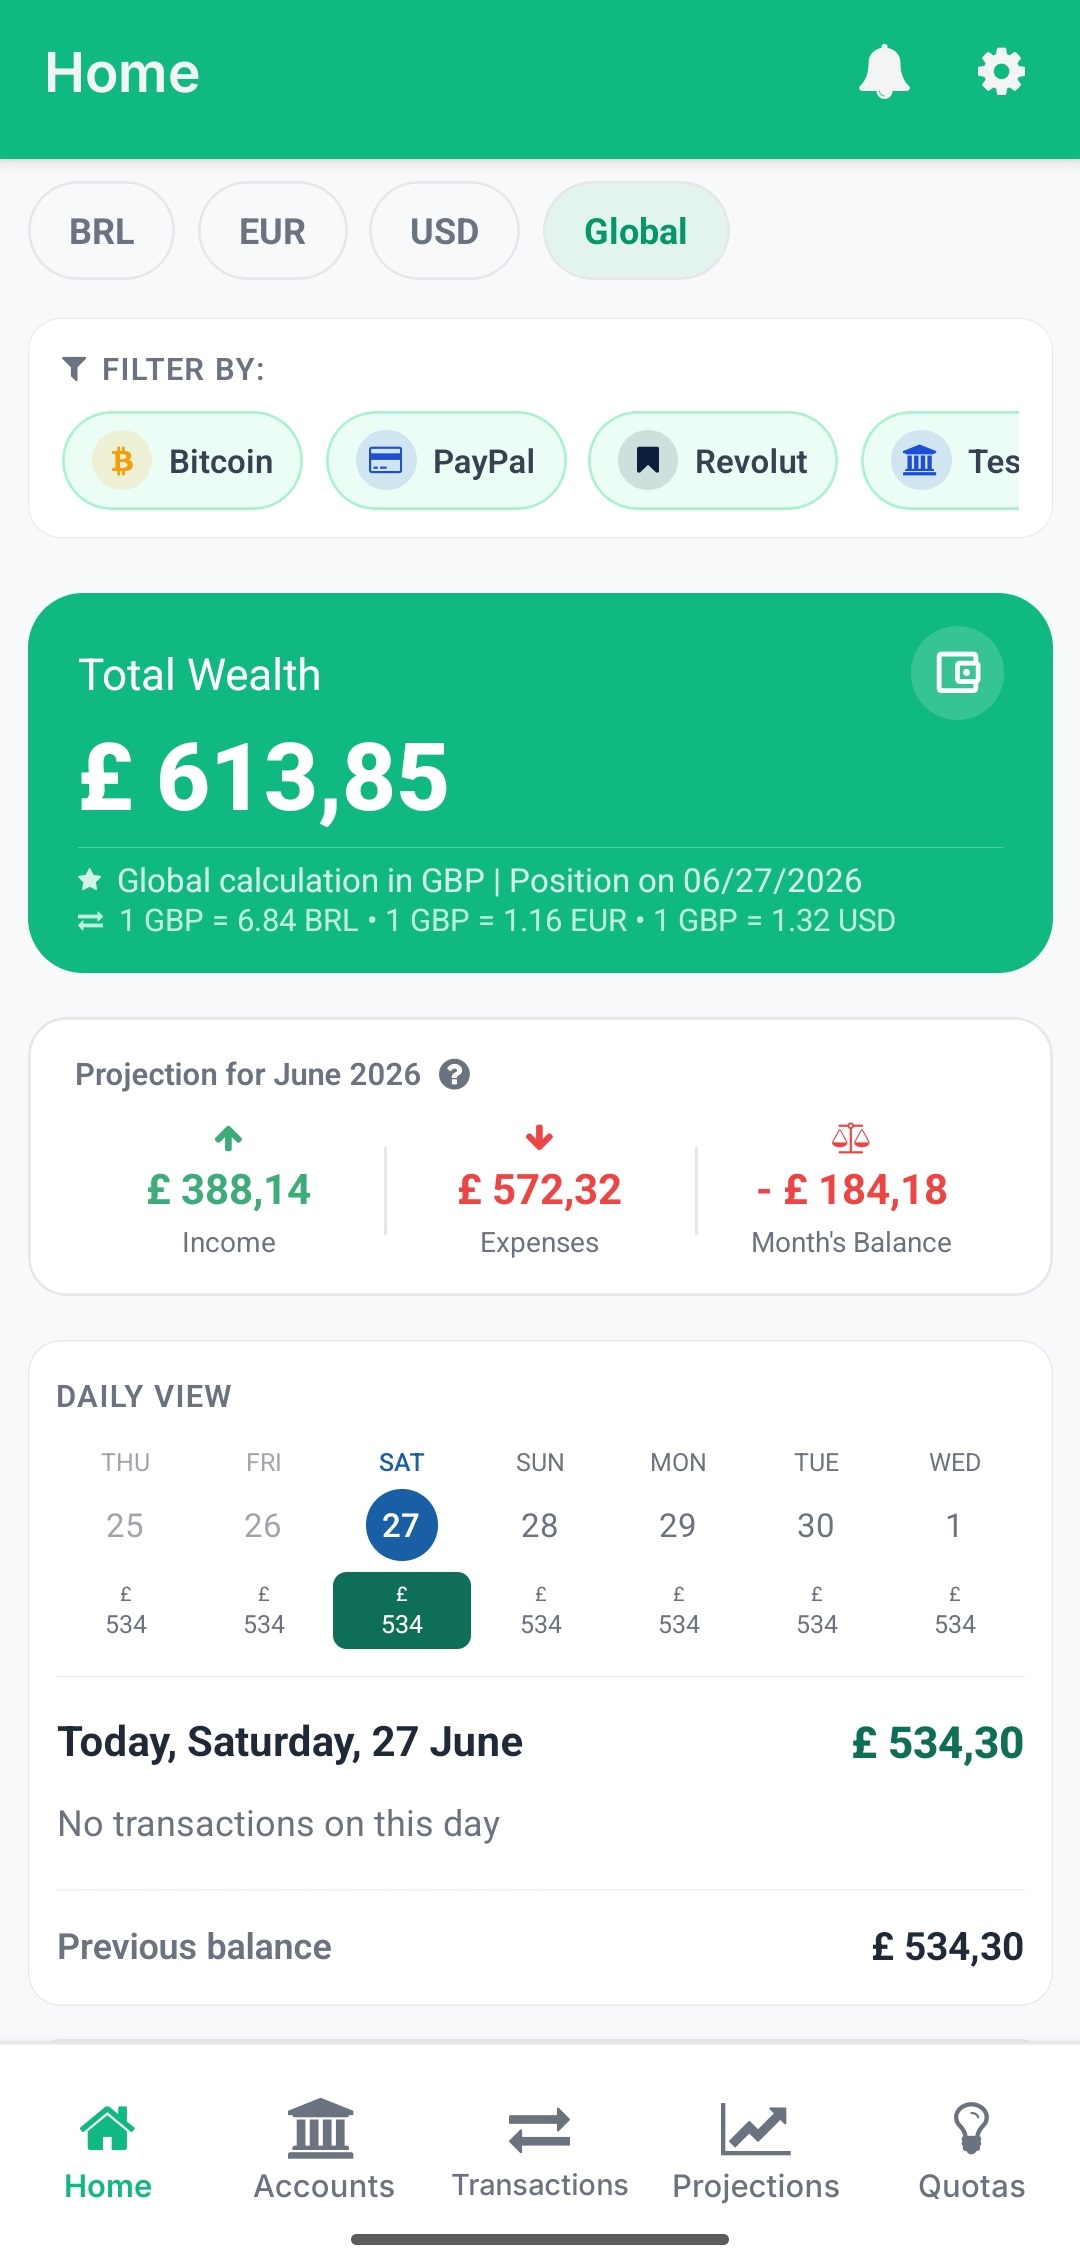
Dashboard: each account in its native currency, plus a single consolidated total in your base currency — updated automatically as rates change.
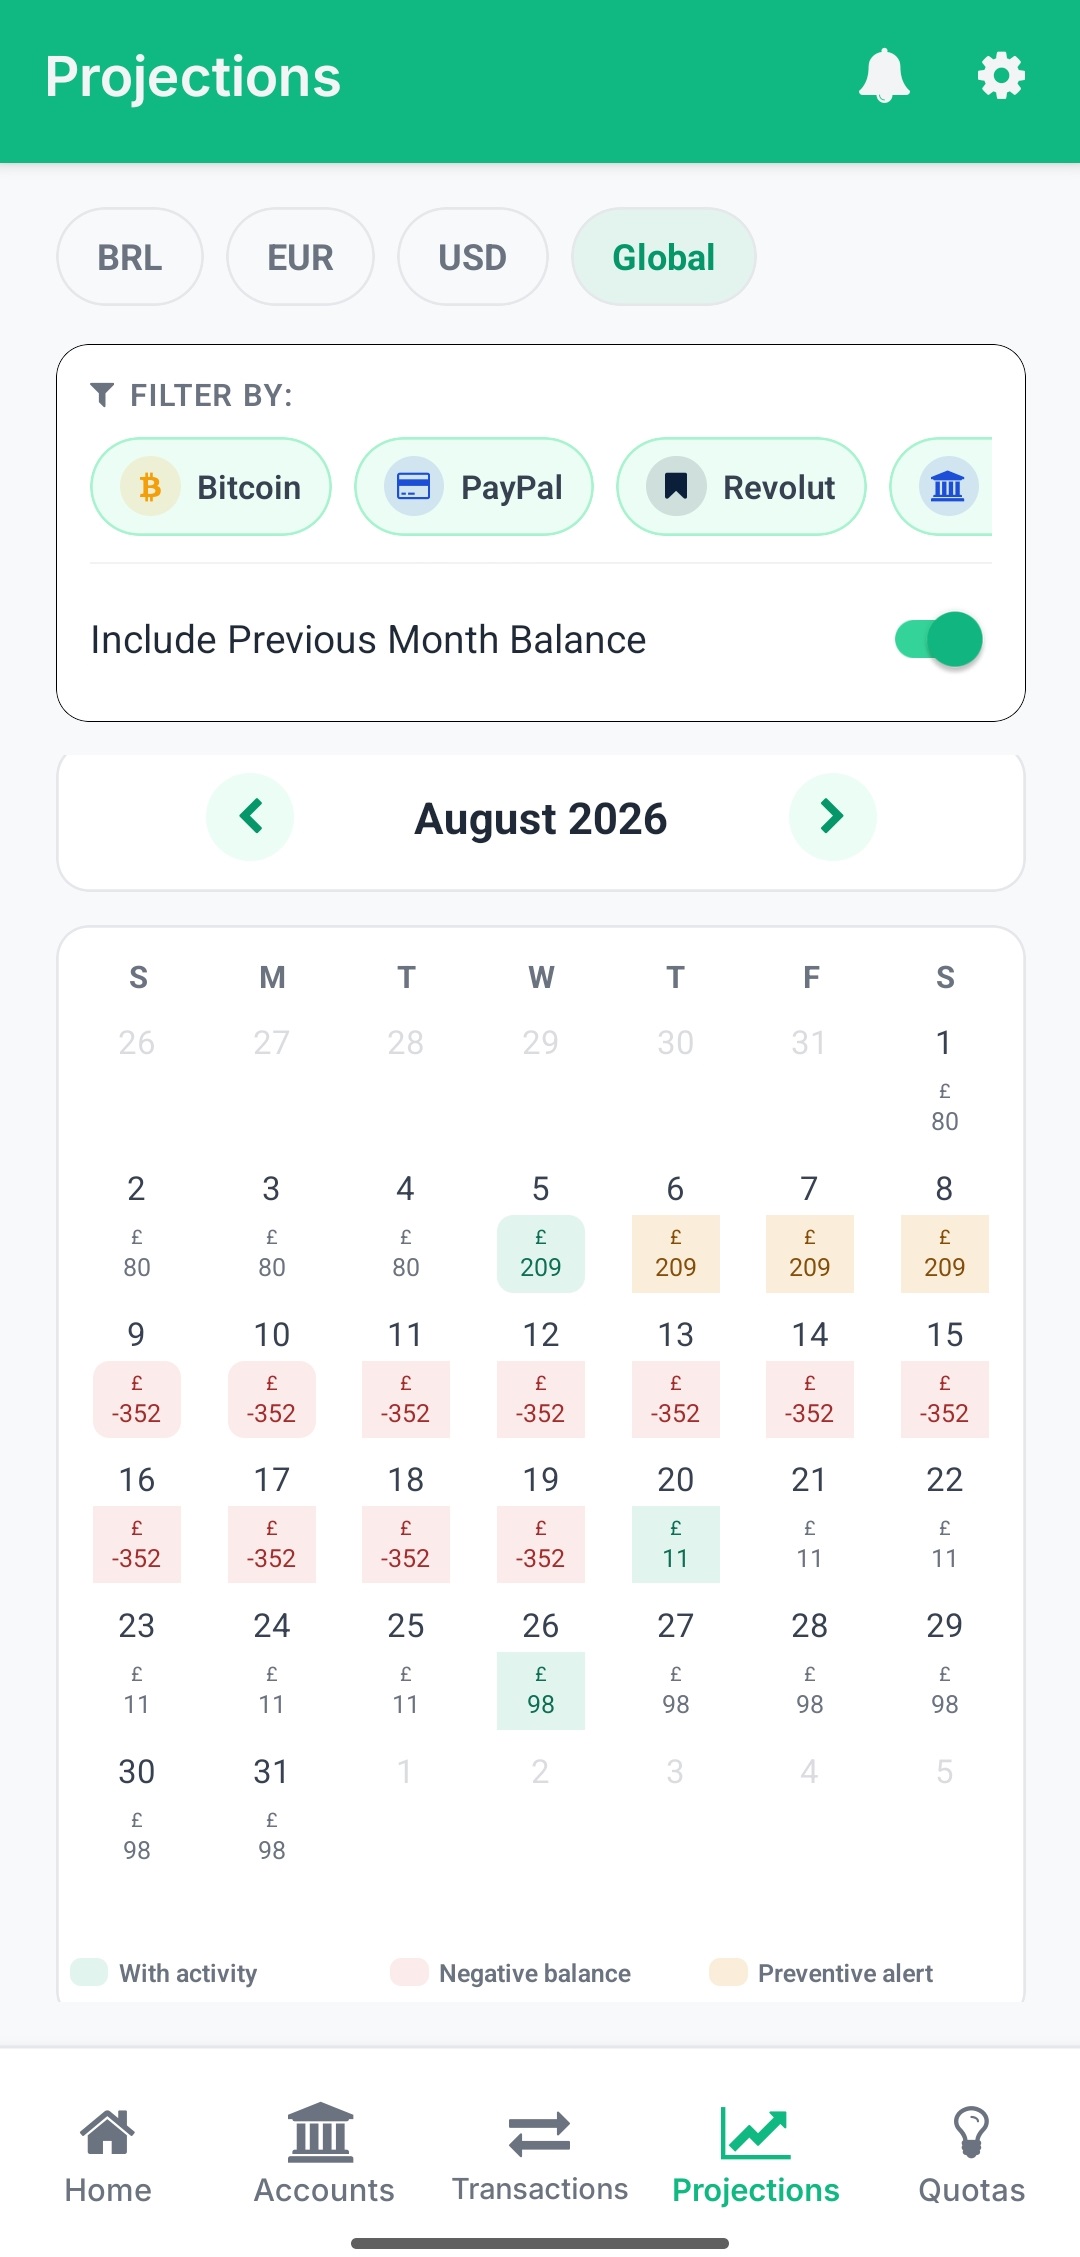
Projection calendar: your expected balance for each day ahead, based on recurring income and expenses already set up. Not just tracking the past — planning the future.
Download free on Android — free plan includes unlimited transaction tracking in 1 currency. Get it on Google Play →
For a full comparison of multi-currency budgeting tools, see our multi currency budget app guide.
Frequently Asked Questions
How often should I track my expenses?
The ideal is to log each expense at the moment it happens — this ensures the correct exchange rate and eliminates the risk of forgetting. If that's not always possible, a quick daily review (5 minutes) to catch anything that fell through works well. The weekly session should be for analysis, not for logging.
What's the best way to track cash expenses in foreign currencies?
Log the ATM withdrawal as "Cash — [Country]." As you spend it, record each purchase in its normal category. The withdrawal acts as the reconciliation anchor.
Do I need to track every expense, or just the big ones?
Every expense, including small ones. Patterns in everyday spending reveal habits that big-ticket items don't. After three months, you'll know exactly where the money you can't account for is going.
Can I track expenses from multiple bank accounts across different countries?
Yes. My Smart Finance supports multiple accounts in different currencies — a BRL account at Itaú, a EUR account at Revolut, a USD account at Wise — consolidated automatically into your base currency.
Keep Learning
If you've made it this far, you have the method. The next step is using that data to plan ahead — not just record the past. These guides build on what you've learned here:
- → Multi Currency Budget App: Track Every Expense in Any Currency (pillar page)
- → How to Build a 12-Month Budget Projection
- → How to Manage a Shared Budget as a Couple
- → Multi-Currency Expense Tracker for Digital Nomads
- → Actual Budget vs Budget Projection Explained